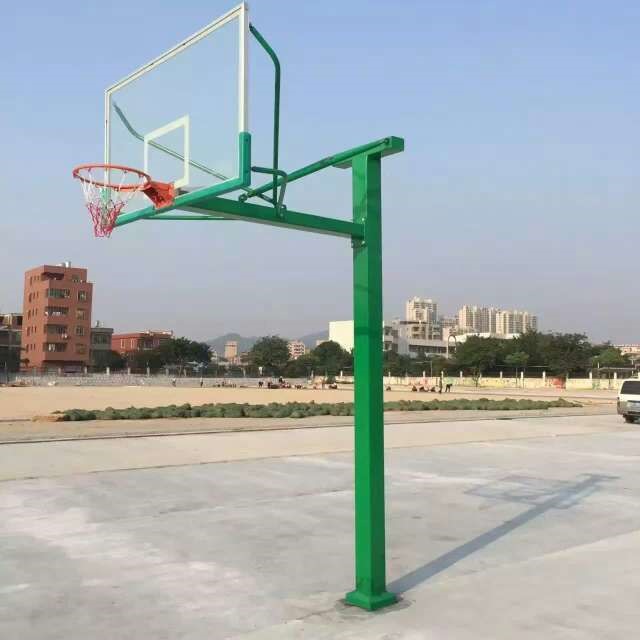
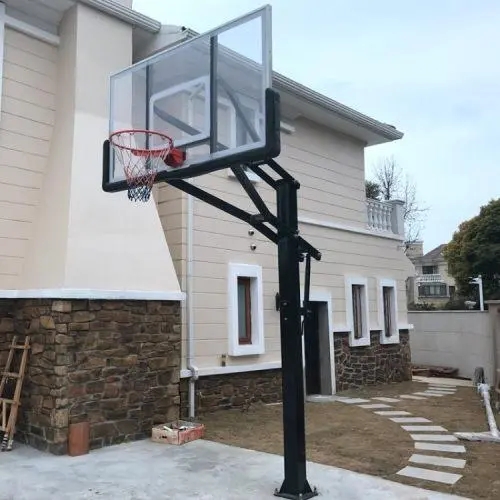
3 visitsFixed basketball hoops refer to permanent in-ground anchored systems, far sturdier than portable ones. Below is the full DIY installation process, including pre-work, foundation pouring, assembly and final adjustment.
1. Pre-Installation Preparation
Required Tools & Materials
Tools: Post hole digger / auger, spirit level, tape measure, shovel, concrete trowel, wrench set, wooden stakes + 2×4 bracing planks, rubber mallet
Consumables: High-strength concrete mix, water, gravel (for hole drainage)
Hoop parts: Ground anchor sleeve, steel pole, extension arms, tempered glass/acrylic backboard, regulation rim, net, all bolts/washers/nuts
Site Selection Rules
Pick flat, solid ground (concrete driveway or compacted soil; avoid mud/sand slopes)
Keep minimum 7m (20ft) open space in front for layups and landing
Stay 3m+ away from power lines, trees, house walls, fences
Check local frost line: Hole depth must sit below frost line to prevent shifting in cold weather
Standard regulation rim height: 3.05m (10ft) from ground to rim top
2. Dig the Foundation Hole
Mark the pole center with spray paint or stakes
Standard hole size: 90–120cm (3–4ft) deep, 45–60cm (18–24in) diameter
Larger/taller hoops need deeper, wider holes
Loosen and clear all rocks, tree roots inside the hole
Pour 10cm gravel at the bottom for water drainage to stop concrete cracking
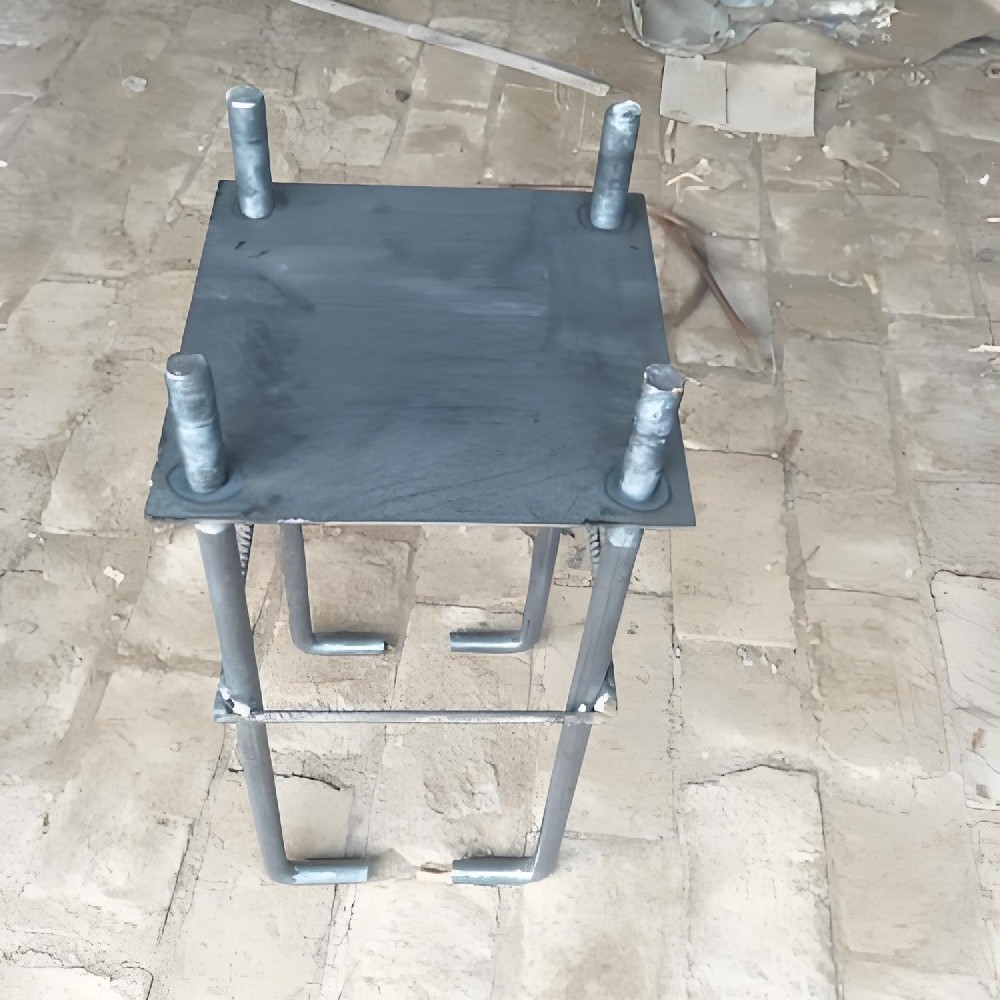
3. Set Anchor Sleeve & Pour Concrete (Most Critical Step)
Place the metal anchor sleeve into the hole center
Use a spirit level to calibrate it 100% vertical (plumb) from front/side two directions
Brace the sleeve tightly with wooden stakes and planks to lock position (it will shift easily during pouring)
Mix concrete per package instructions, pour slowly into the hole
Poke concrete repeatedly with a rod to eliminate air voids (voids weaken the base)
Smooth the top concrete flat with a trowel, wipe anchor sleeve clean of cement
Curing time: 48–72 hours minimum; wait 72h for full hardness before assembling the pole
Do not touch or lean on the anchor during curing
4. Assemble & Mount the Main Pole
After concrete fully cures, remove all temporary bracing
Assemble multi-section pole segments first with supplied bolts, fully tighten
Lift the heavy pole into the anchor sleeve (2–4 adults required for safety)
Insert anchor bolts, use built-in leveling nuts to fine-tune vertical straightness
Torque all anchor bolts evenly to lock the pole firmly; recheck level again
5. Install Extension Arms, Backboard & Rim
Mount upper/lower extension support arms onto the pole bracket per the manual
Lift the backboard (glass backboards are extremely heavy—3+ people needed) and align with arm mounting holes
Secure backboard with bolts, washers and lock nuts; ensure the board is perfectly square and flat
Attach the steel rim to the backboard’s pre-drilled mounting holes, tighten fully
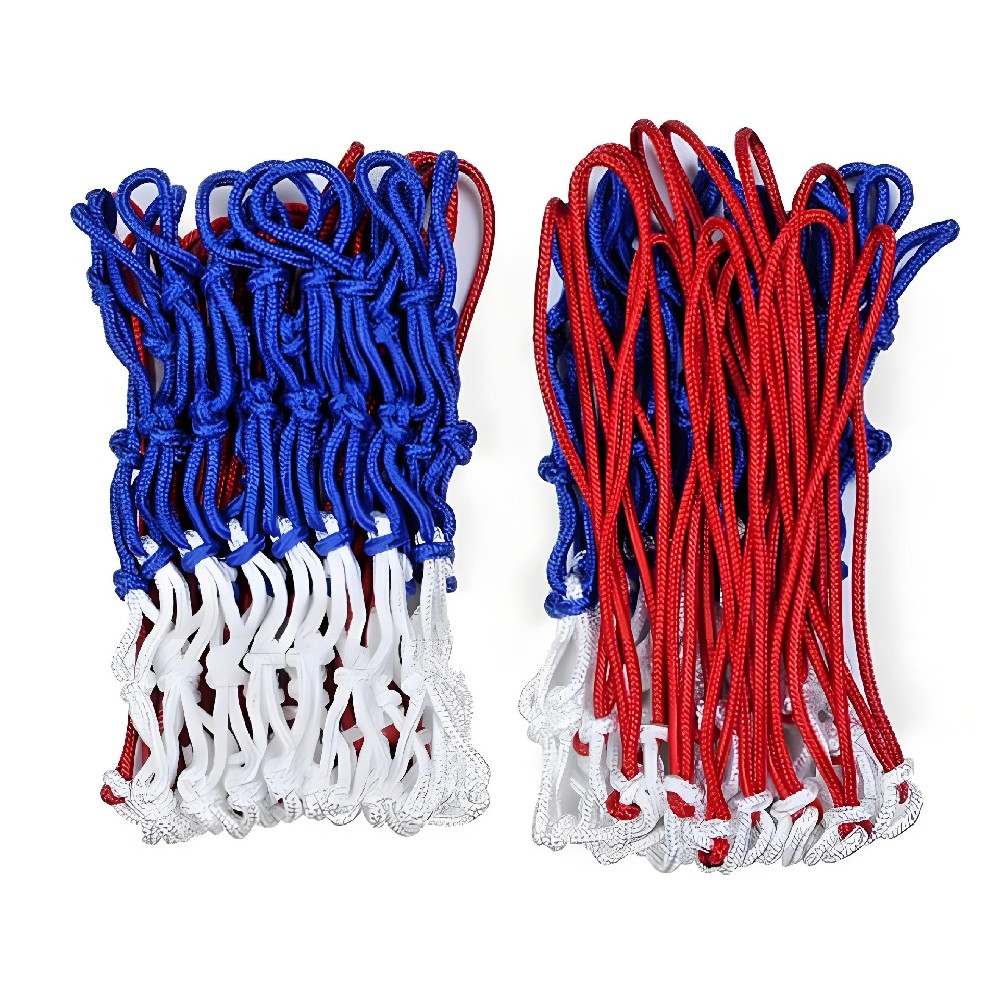
Hang the nylon net on the rim hooks, adjust to hang evenly
6. Height Adjustment & Final Inspection
If your hoop has adjustable height, test the lift mechanism to confirm smooth up/down movement
Measure rim height again to confirm exactly 3.05m (10ft) for standard play
Double-check every single bolt: pole anchor, arms, backboard, rim—retighten any loose fasteners
Clean all metal surfaces, apply anti-rust spray if living in coastal/humid areas
Important Safety & Maintenance Tips
Never assemble alone; heavy metal and glass parts cause crush injuries
Monthly maintenance: Check all bolts for looseness, wipe rust spots
In winter, clear snow off the backboard to avoid extra weight bending arms
Do not hang or swing on the rim to prevent bracket deformation
Wall-Mounted Fixed Hoop (Alternative Type)
If you install a fixed hoop on a solid brick/concrete wall instead of in-ground:
Locate wall load-bearing studs/concrete beams (hollow drywall cannot support weight)
Mark mounting holes, drill into solid masonry
Use heavy-duty expansion through-bolts rated for outdoor heavy load
Mount wall bracket first, then attach backboard, rim and net following the same assembly steps above.