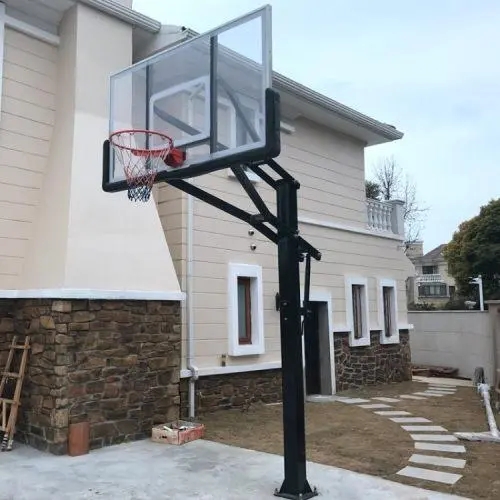
242 visitsInstalling a wall mounted basketball hoop correctly is critical for safety and long service life. Improper mounting can lead to loose bolts, wall damage or even falling hazards. This guide covers standard installation steps for indoor and outdoor wall-mounted basketball systems.
Required Tools & Hardware
Tape measure, spirit level, marker
Hammer drill / impact drill
Socket wrench set, spanner
Safety gloves, safety goggles
Heavy-duty expansion anchor bolts (supplied with hoop)
Waterproof silicone sealant (for outdoor installation)
Step 1: Confirm Suitable Wall Structure
Only install on solid supporting structures:
Solid concrete wall, concrete block wall, solid brick wall, reinforced timber stud wall
Do NOT install full-size hoops only on hollow drywall, thin siding, plasterboard without reinforcement
For outdoor garage siding: Brackets must anchor into the structural wall behind vinyl or metal siding. Never fasten brackets to siding alone.
Step 2: Mark Mounting Position
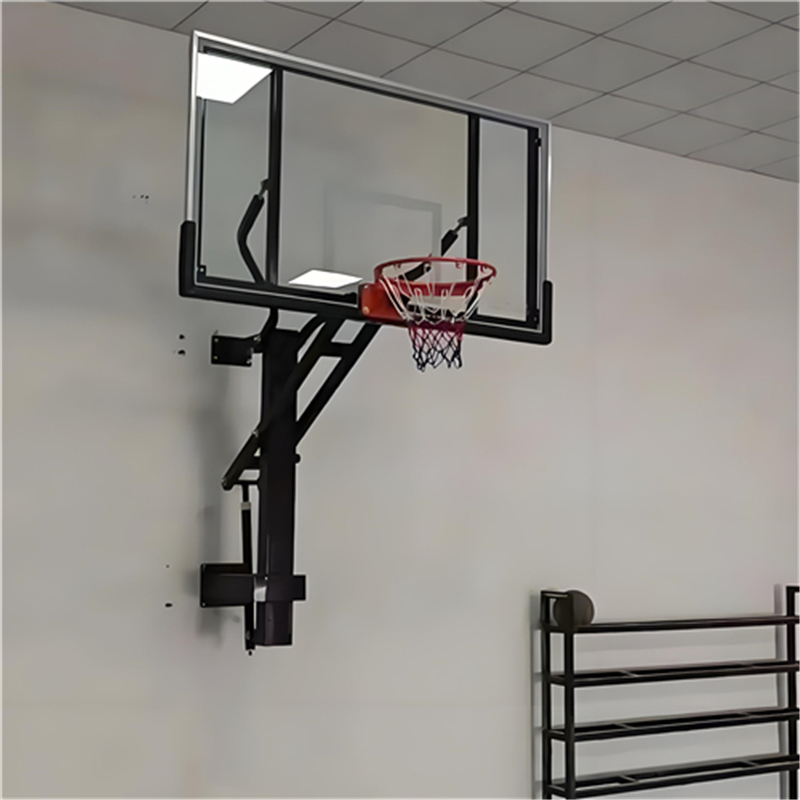
Confirm target rim height. Official regulation height is 10 ft (3.05 m) from ground to top edge of rim. Adjustable models can be set lower for kids.
Calculate the vertical position of mounting brackets based on product drawing.
Mark hole locations on the wall. Use the level to ensure all marks stay perfectly horizontal.
Check surroundings: Reserve minimum 10–15 ft clear space in front of hoop. Keep away from windows, lights, doors and gutters.
Step 3: Drill Holes & Clean Debris
Drill holes according to the size and depth required by anchor bolts. Clear all dust inside holes after drilling.
For outdoor installation: Clean holes thoroughly to ensure tight anchoring.
Step 4: Fix Main Mounting Bracket
Place the heavy-duty steel bracket against marked positions.
Insert expansion anchors and tighten bolts gradually.
Recheck level after all bolts are lightly fastened, then fully torque all bolts evenly.
Do not over-tighten to avoid cracking brick or concrete.
Step 5: Assemble Support Arms & Backboard
Attach extension support arms onto the main wall bracket. Tighten all connecting bolts.
Mount the backboard onto support arms. Install rubber vibration gaskets between backboard and metal frame to reduce noise and shock.
Step 6: Install Rim & Net
Fasten breakaway rim onto the front of backboard with supplied bolts.
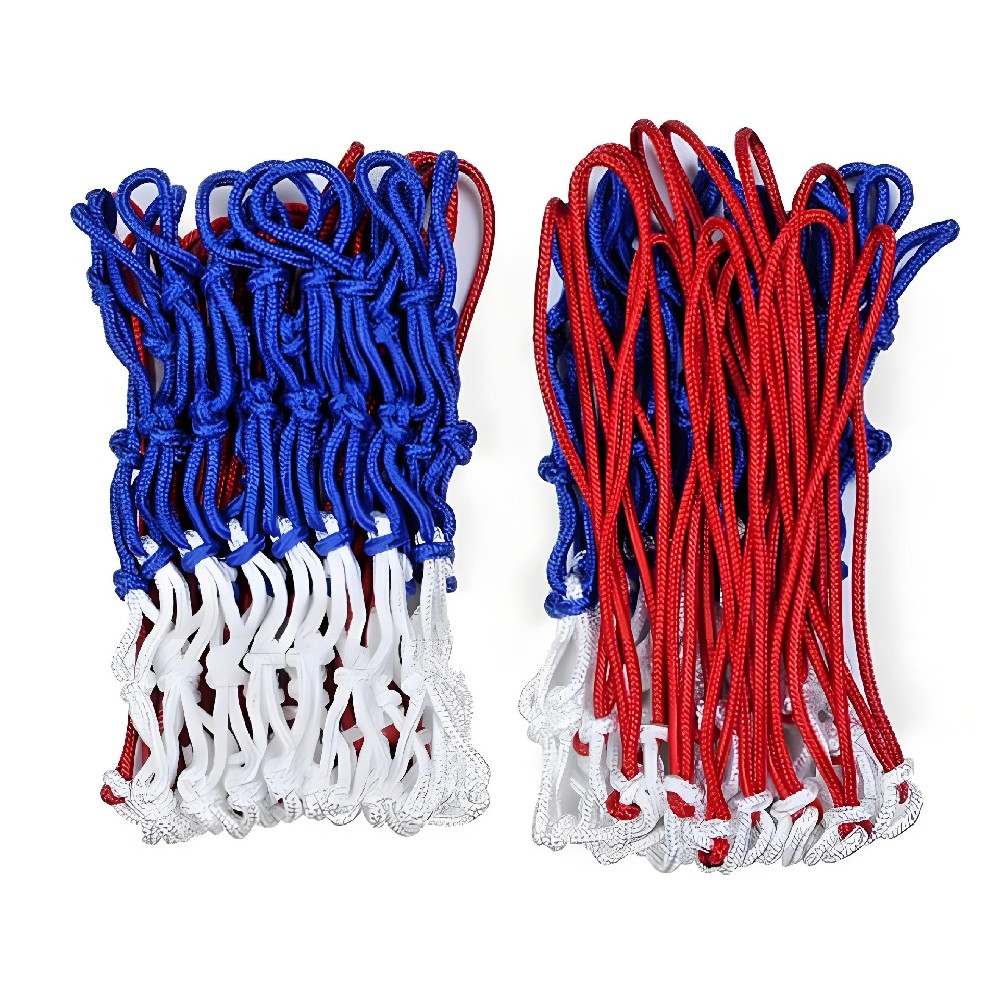
Hang the basketball net.
Step 7: Final Inspection
Check every bolt is fully tightened
Shake the whole system gently to test stability, no obvious wobble
Outdoor installation: Apply silicone sealant around all drill holes to prevent rainwater seepage and wall corrosion
Important Safety Tips
Two people are recommended for installation; backboards are heavy and awkward to lift.
If you lack drilling experience or cannot confirm wall load capacity, hire professional installers.
Check and retighten all bolts every 3–6 months, especially for outdoor units.
Avoid frequent heavy dunking if your wall is old or has visible cracks.