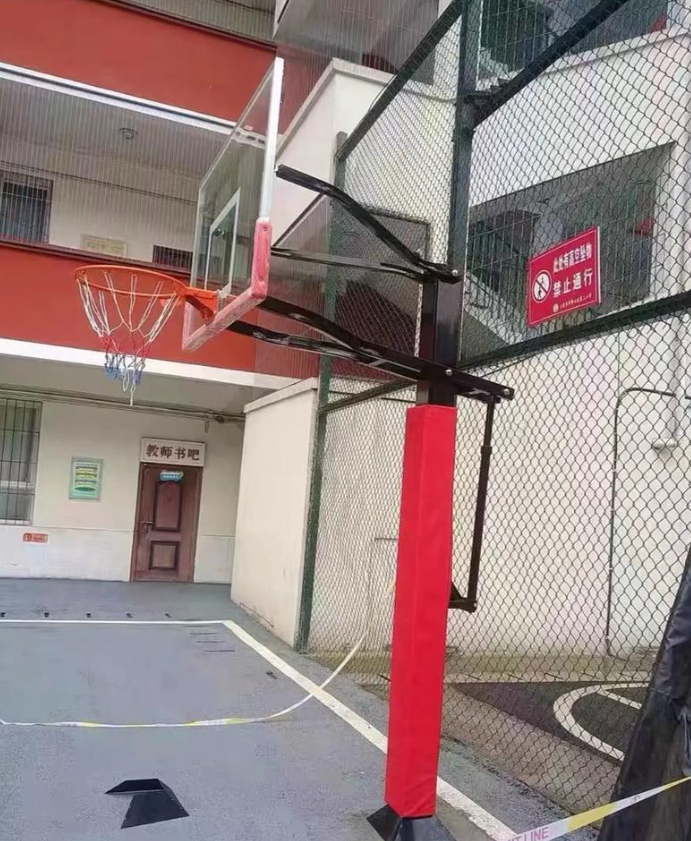
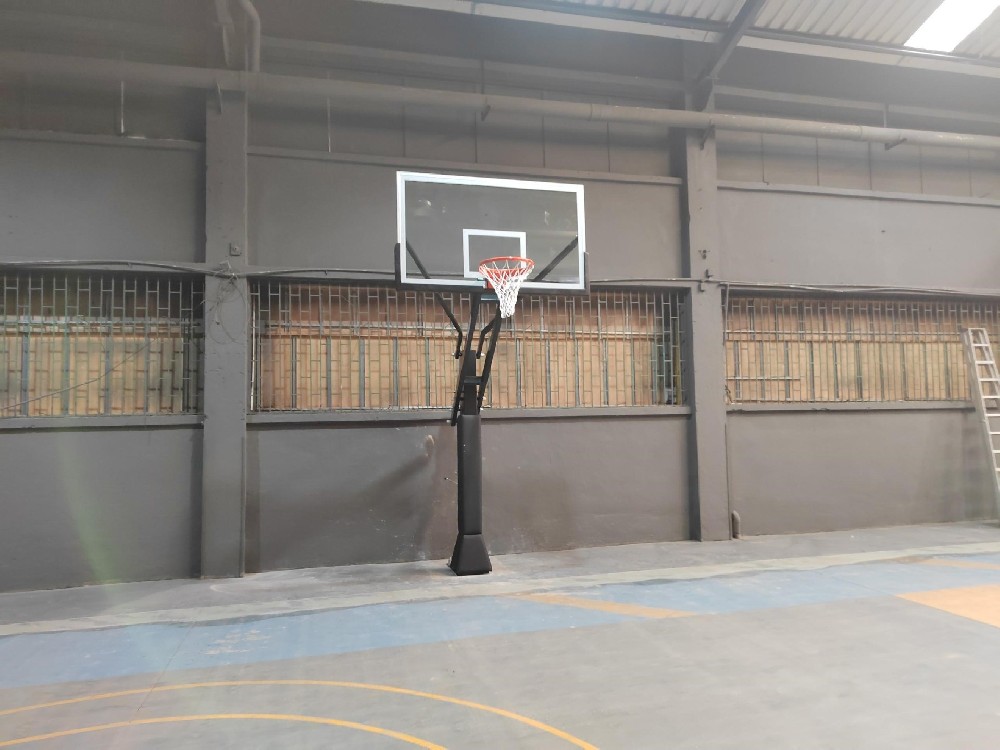
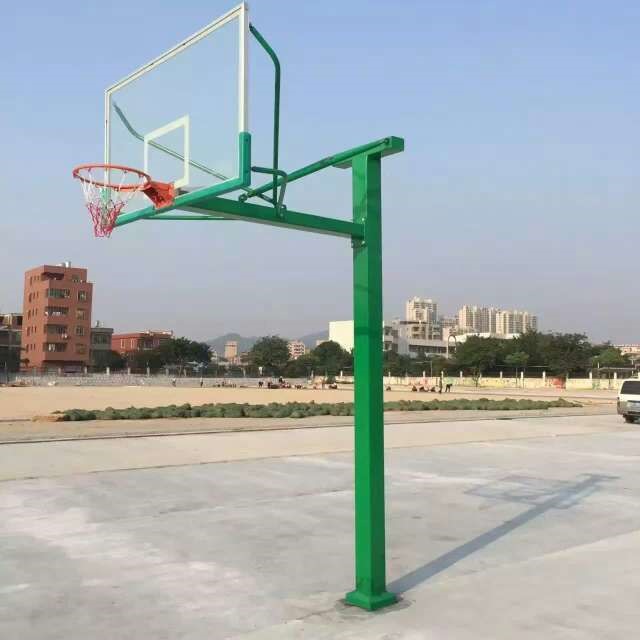
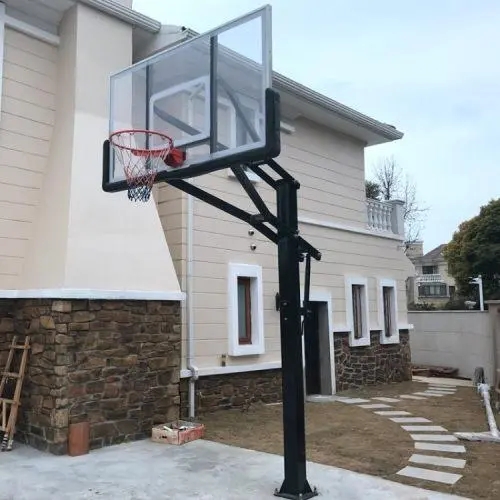
235 visitsCorrect Installation Guide for In-Ground Fixed Basketball Hoop1. Pre-Installation Preparation
Check all complete accessories: main vertical pole, cantilever arm, backboard assembly, standard rim, nylon net, embedded base frame, high-strength bolts, shock-absorbing gaskets, level meter, tape measure and professional installation tools. Verify no missing, deformed or damaged components.

Choose a flat, solid outdoor ground free of underground pipelines, cables and tree roots. Reserve sufficient activity space around the hoop, far from walls, poles and barriers.
Mark positioning lines following official basketball court standards: the front edge of the backboard shall be 1.2 meters back from the court end line.
2. Excavate Foundation Pit & Place Embedded Frame
Dig a standard foundation pit with dimensions 80cm × 80cm × 100cm at the marked spot. Clear loose soil and stones inside the pit.
Lower the steel embedded base frame into the pit. Adjust its horizontal balance with a level meter to guarantee no tilt before concrete pouring.
Prepare C30 concrete mixture for filling. Fill the pit layer by layer and vibrate fully to eliminate internal air voids.
3. Concrete Curing Period
Keep the concrete moist for at least 7 full days for complete solidification. Do not mount the basketball frame or apply any external force during curing.
Avoid heavy vehicle rolling and artificial impact on the foundation within the curing period to prevent frame displacement.
4. Assemble Main Pole & Cantilever Arm
After full concrete curing, align the bottom flange of the vertical main pole with the reserved bolt holes on the embedded frame. Thread high-torque bolts and lock them crosswise.
Connect the single cantilever arm to the top flange of the main pole, tighten all connection screws evenly. Install anti-sway support rods between the arm and vertical pole to boost overall stability.
Recheck the verticality of the main pole with a level meter; adjust bolt tightness until the pole stands perfectly vertical.
5. Install Backboard, Rim & Net
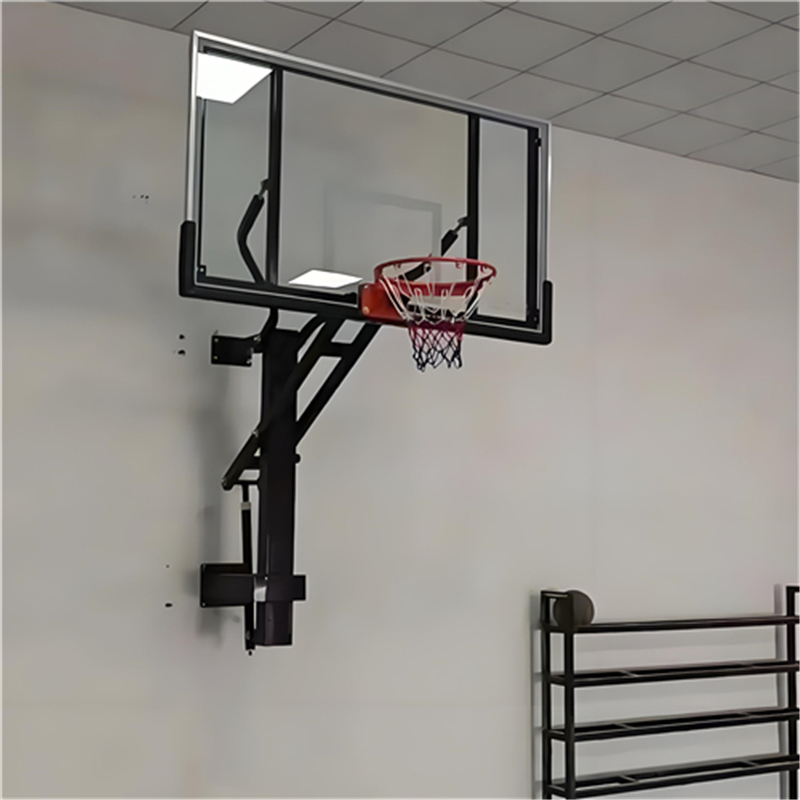
Mount connecting brackets on the front end of the cantilever arm. Place shock-absorbing rubber gaskets between brackets and tempered glass backboard to buffer impact and prevent glass cracking.
Secure the backboard nuts symmetrically with even force to avoid uneven stress.
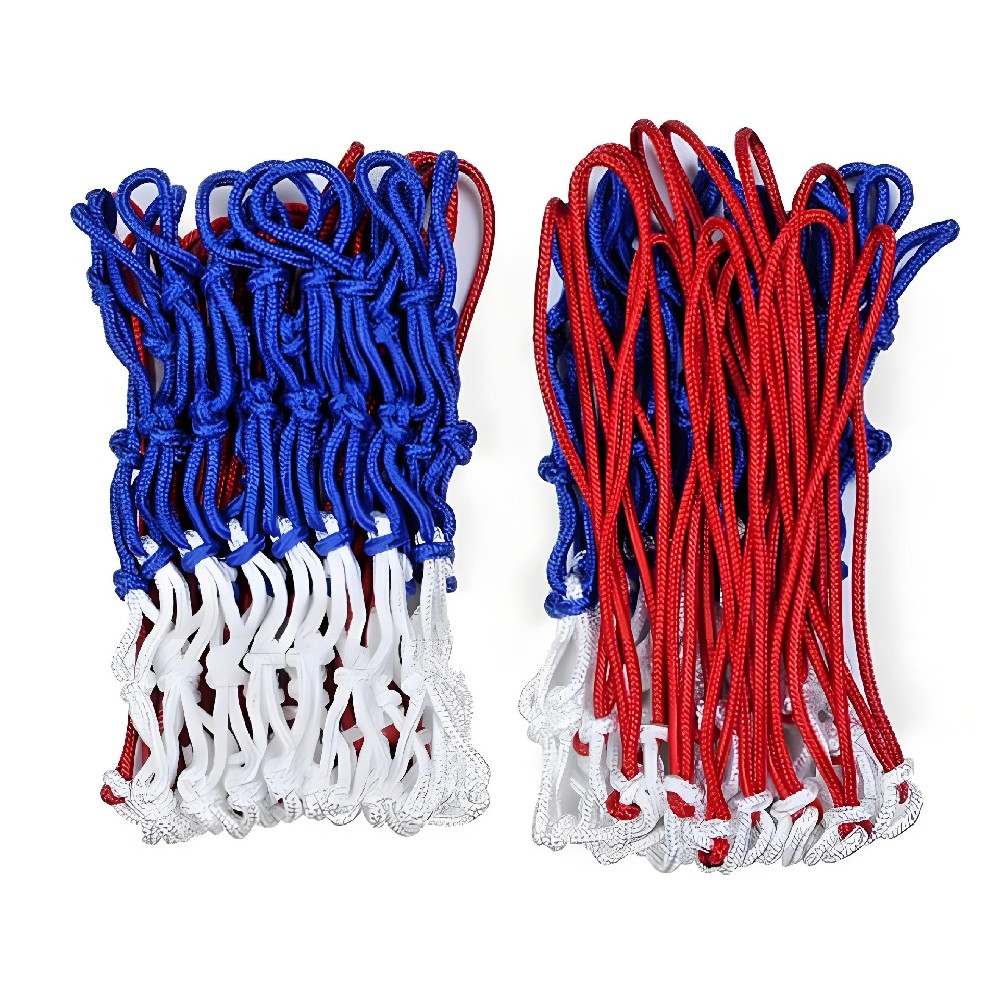
Fix the standard basketball rim to the reserved central position of the backboard. The vertical height from ground to the top edge of the rim must reach 3.05 meters. Hang the basketball net after tightening all rim bolts.
6. Full Inspection & Acceptance
Double-check all bolts on the embedded base, main pole, cantilever arm and backboard for looseness, retighten any loose fasteners.
Push the cantilever hard to test stability; obvious shaking, displacement or abnormal noise are forbidden.
Re-measure rim height and backboard horizontal position to conform to formal game standards.
Clean up construction waste, excess concrete and metal scraps around the foundation.
Important Safety Instructions
Installation must be completed by professional workers with lifting tools to avoid tipping and crushing injuries during assembly.
Prohibit use of the basketball hoop before concrete is fully cured, otherwise foundation deformation and safety hazards may occur.
Conduct bolt tightening inspection every 3 months during regular use; replace rusted or deformed fasteners timely to prolong service life.
Do not hang heavy objects or climb the pole randomly to prevent structural damage and falling risks.