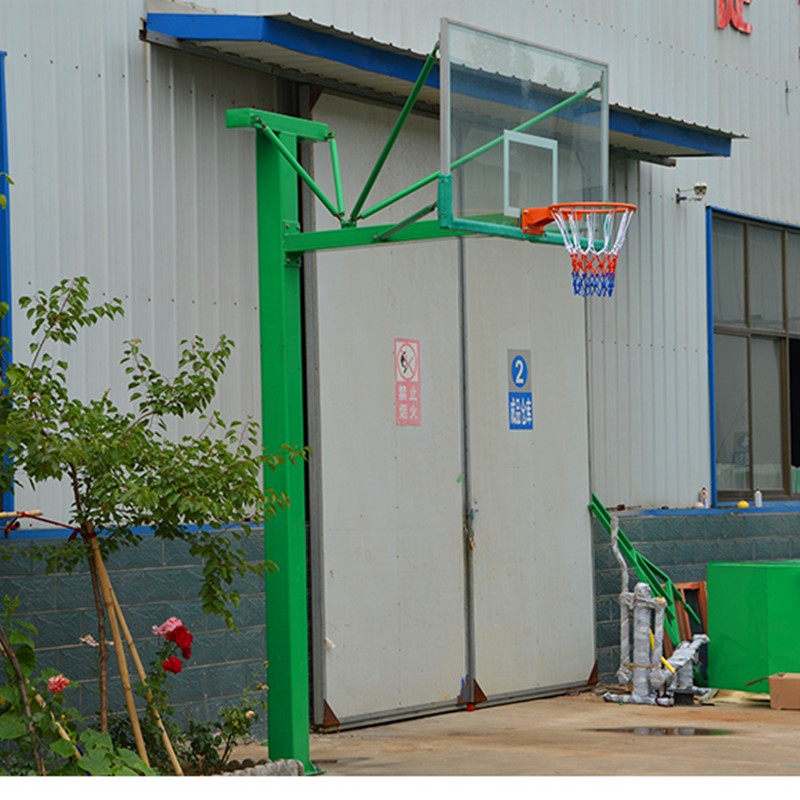
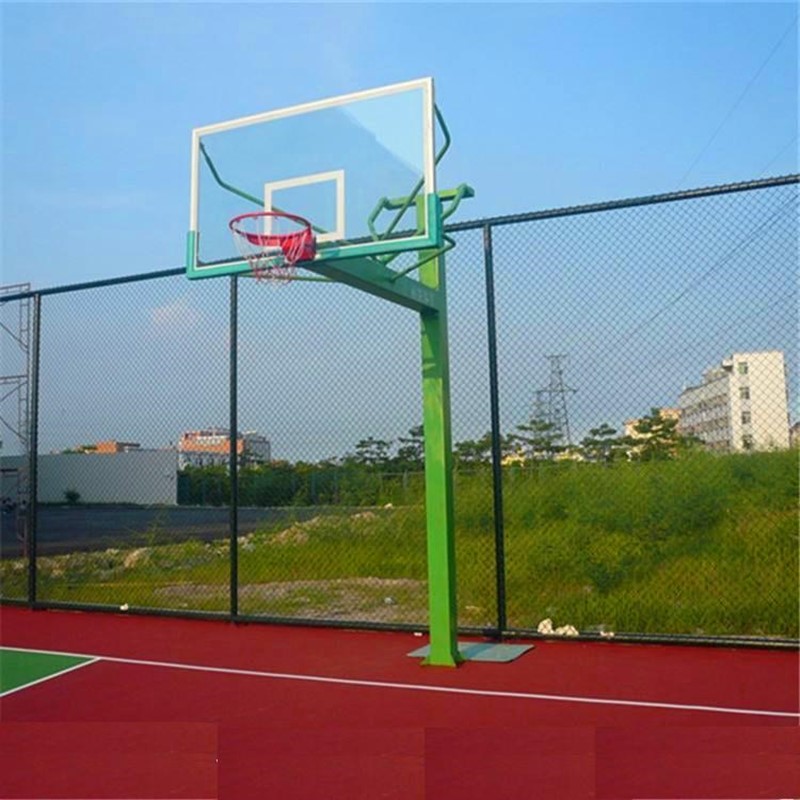
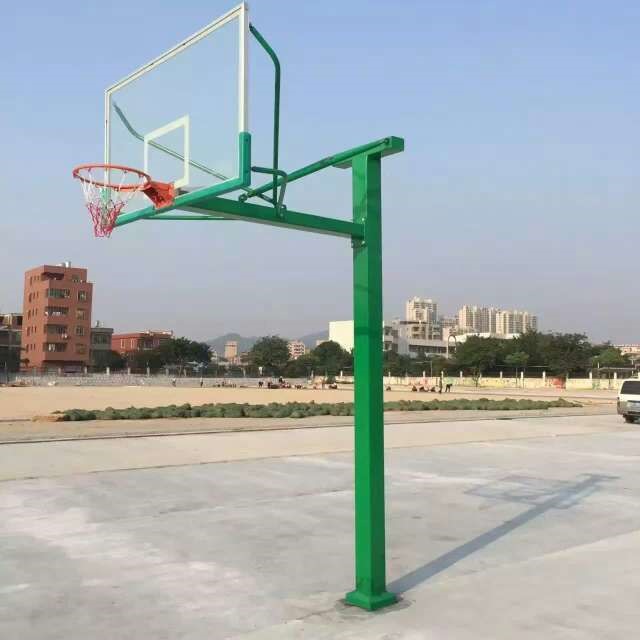
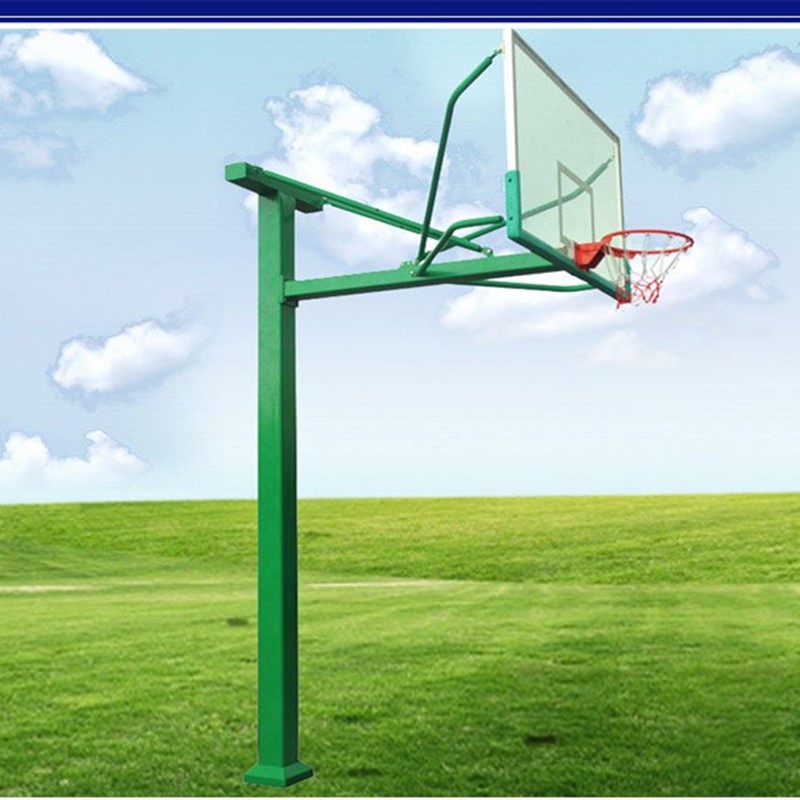
4 visitsProper installation is critical for the stability and safety of your square tube inground basketball hoop. Below is a step-by-step guide for standard models, suitable for DIY or professional installation.
Tools Needed: Shovel, auger, concrete mixer, level, tape measure, wrench set.
Step 1: Site Selection
Choose a flat, level area at least 3m from fences/buildings.
Confirm underground utilities (water, gas, electric) are clear.
Step 2: Dig the Hole
Size: 60×60×80cm (for 120×120mm square tube).
Keep sides straight; avoid sloping.
Step 3: Prepare Concrete
Mix standard concrete (C20/C25); add steel rebar for reinforcement.
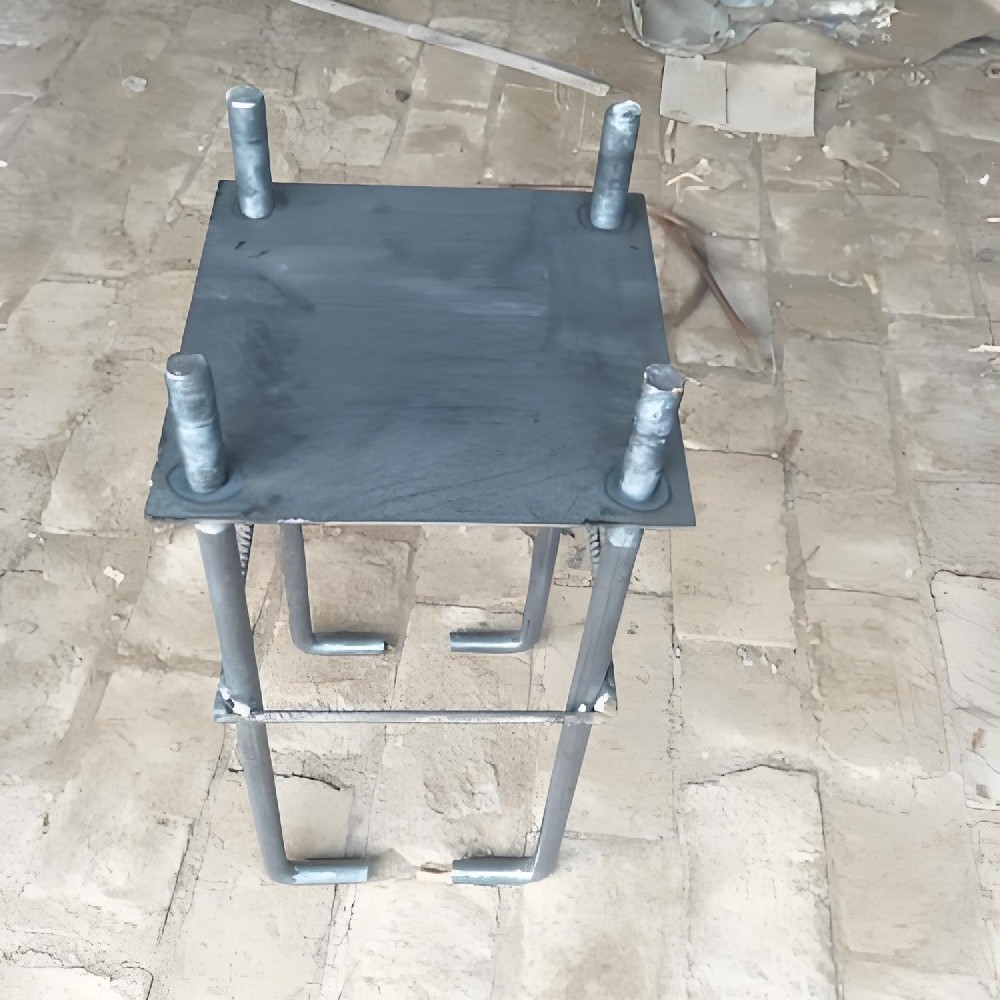
Step 4: Install Anchor Base
Pour 20cm concrete into the hole.
Lower the steel anchor base; level carefully (critical for verticality).
Fill concrete to ground level; smooth surface.
Step 5: Cure Concrete
Allow 72+ hours (3–5 days in cool weather) to fully cure.
Step 6: Attach Square Tube Pole
Bolt the square tube post to the anchor base.
Tighten bolts evenly; check vertical with level.
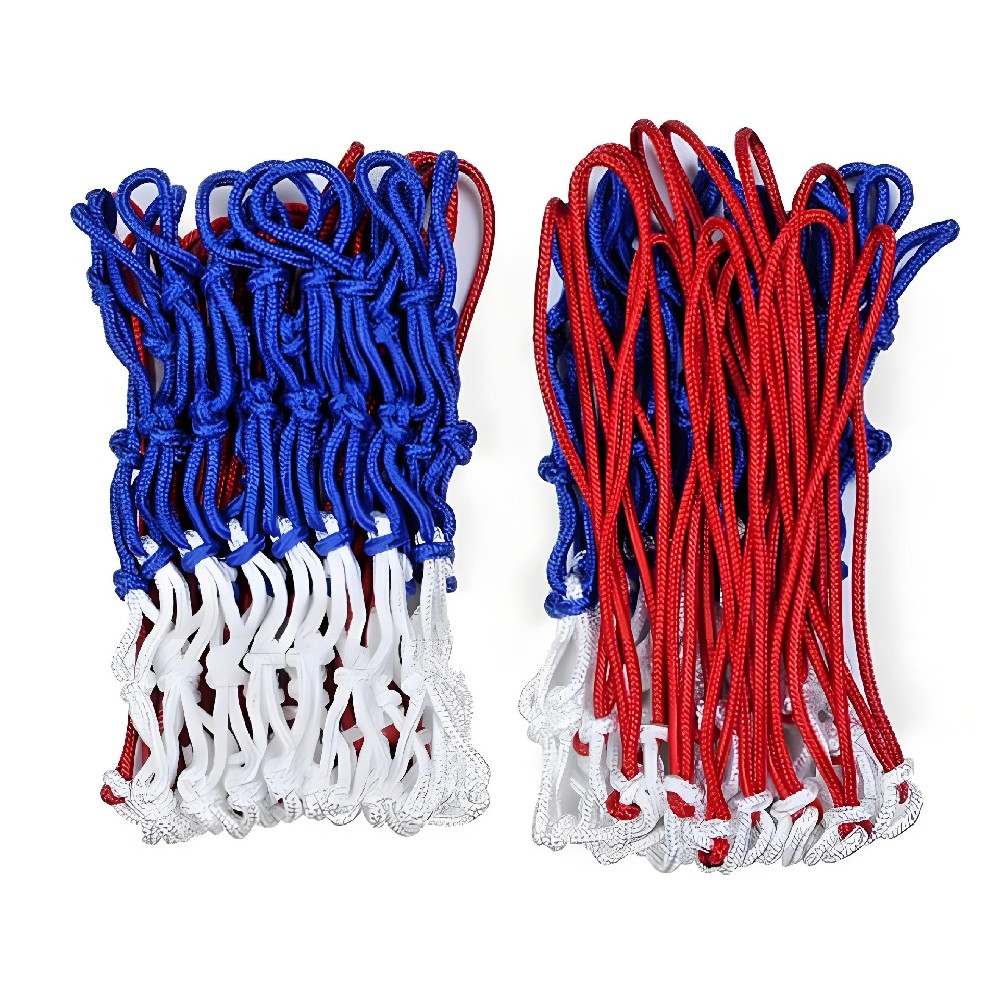
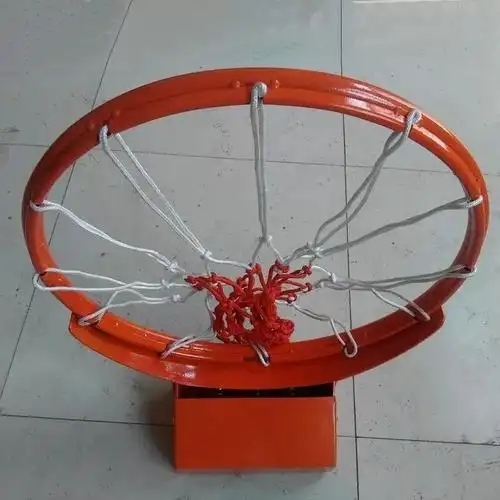
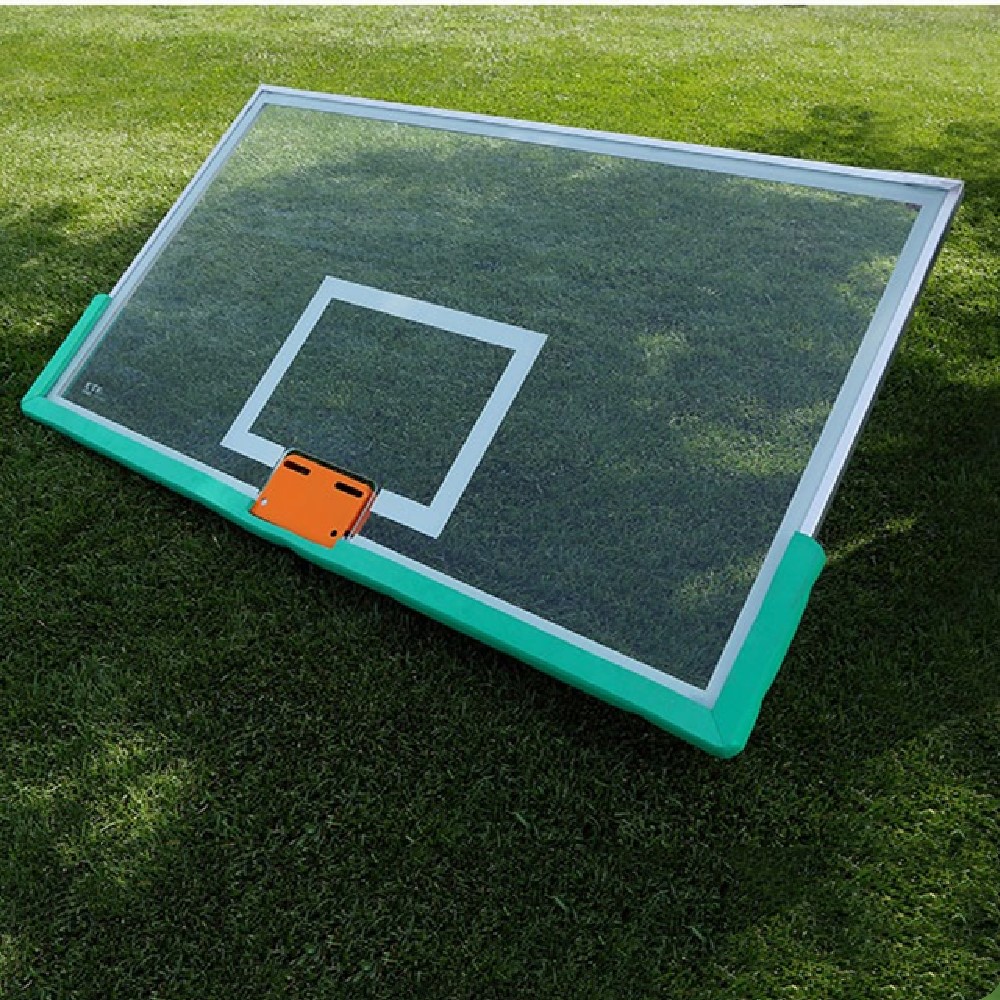
Step 7: Install Backboard & Rim
Follow manufacturer’s instructions for assembly and safety padding.
Pro Tips:
Never install on unstable soil (sand, loose fill).
Use a concrete vibrator to eliminate air bubbles.
Wait 1 week before heavy use (dunks, aggressive play).
For professional installation services or detailed CAD drawings, contact our technical support team.