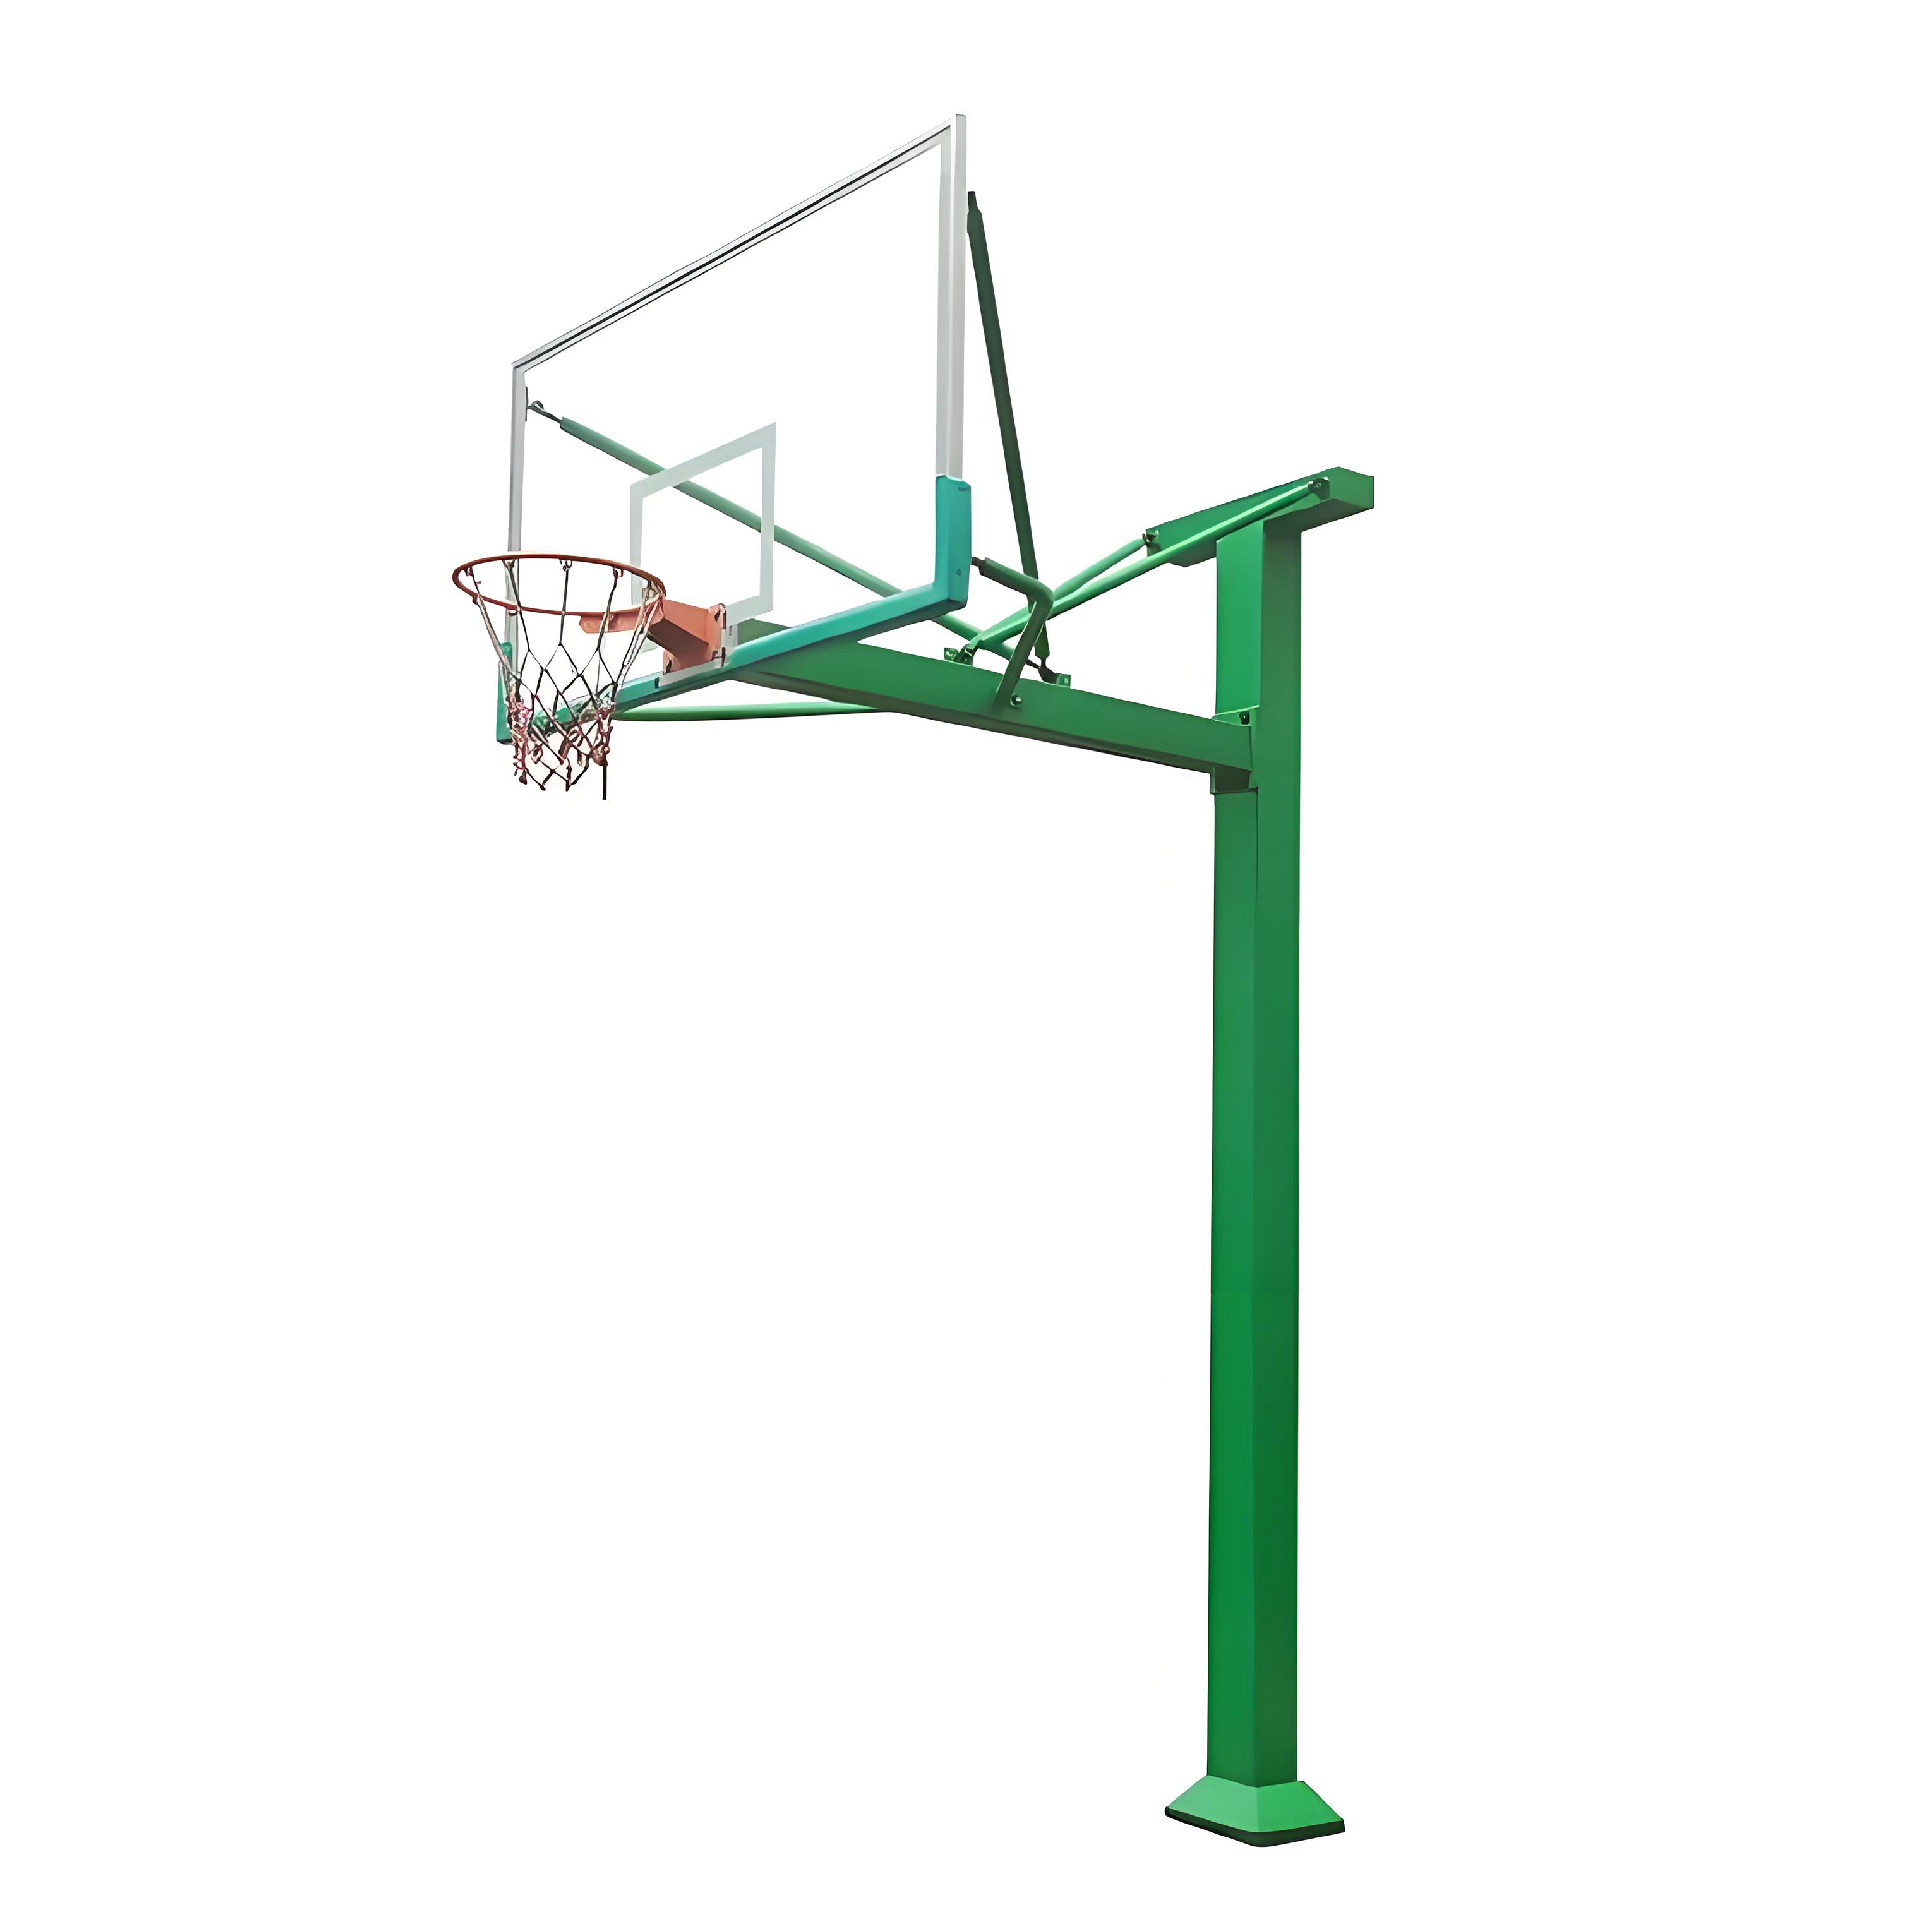
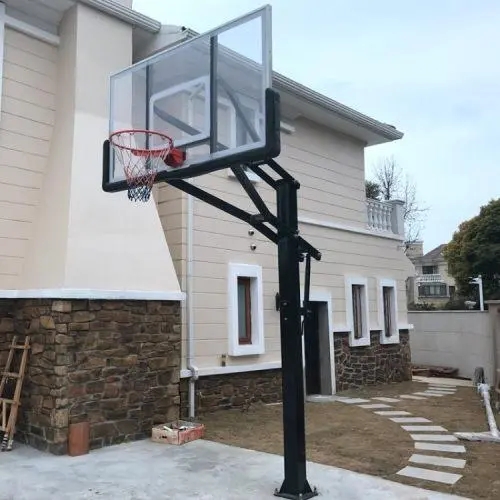
254 visitsThe installation of underground basketball stands must follow the process of precise measurement, standardized construction, and safe reinforcement. The following are the specific installation steps and precautions:
1. Preparation before installation
Site marking and positioning
Determine the arm length of the basketball stand (such as 1600mm, 1800mm, etc.), and calculate the position of the fixed point according to the rules of the game.
Example: When the arm length is 1600mm, the fixed point should be 350mm outside the end line (calculation formula: 1600mm - 1200mm - 50mm).
Use a level and a tape measure to accurately mark the position of the underground pit, ensuring that it is 60cm away from the end line of the basketball court.
Tools and material preparation
Tools: electric drill, level ruler, wrench, concrete mixer, scaffolding (for fixing columns).
Materials: M1260 screws (4), concrete (mixed with sand, cement, and gravel), embedded parts (3535*40cm iron frame, optional).
2. Core installation steps
Digging a buried pit
Dimension requirements: 70cm long × 70cm wide × 80cm deep (or 50cm × 50cm × 50cm, adjusted according to the embedded parts).
Depth control: Make sure the bottom of the pit is flat to avoid tilting and causing the basketball stand to be unstable.
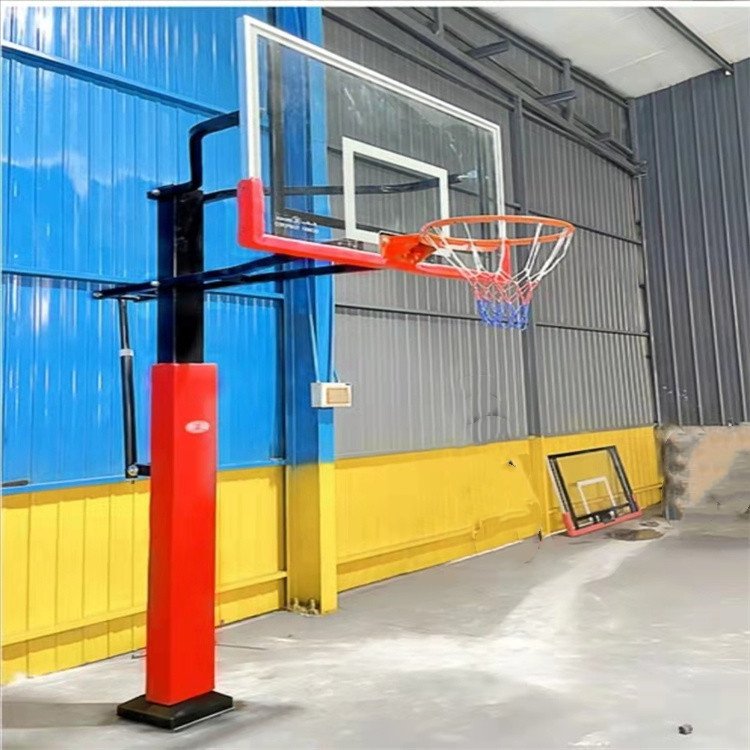
Fix the basketball stand posts
Method 1: Bury the posts first and then install the backboard
Put the posts in the pit and temporarily fix them with scaffolding or ropes to prevent tilting.
Fill the concrete to the pit mouth and compact it with a vibrator to ensure that there are no gaps.
Curing time: The concrete needs to dry for 4 days and then install the backboard after it reaches a solid state.
Method 2: Install the backboard first and then bury the basketball stand
Fix the backboard and the hoop on the posts with screws in advance, and then bury them in the pit as a whole.
The angle of the backboard needs to be calibrated multiple times with a level ruler to ensure that the five points are evenly stressed.
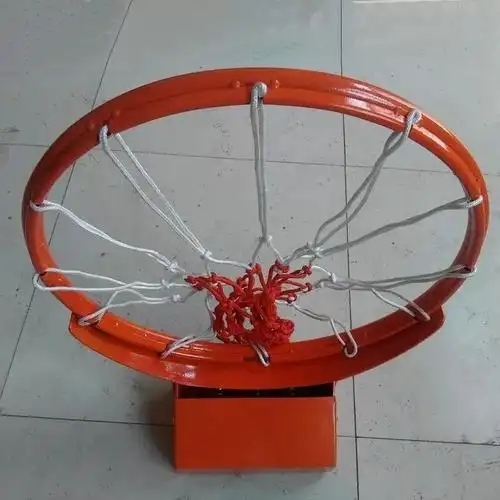
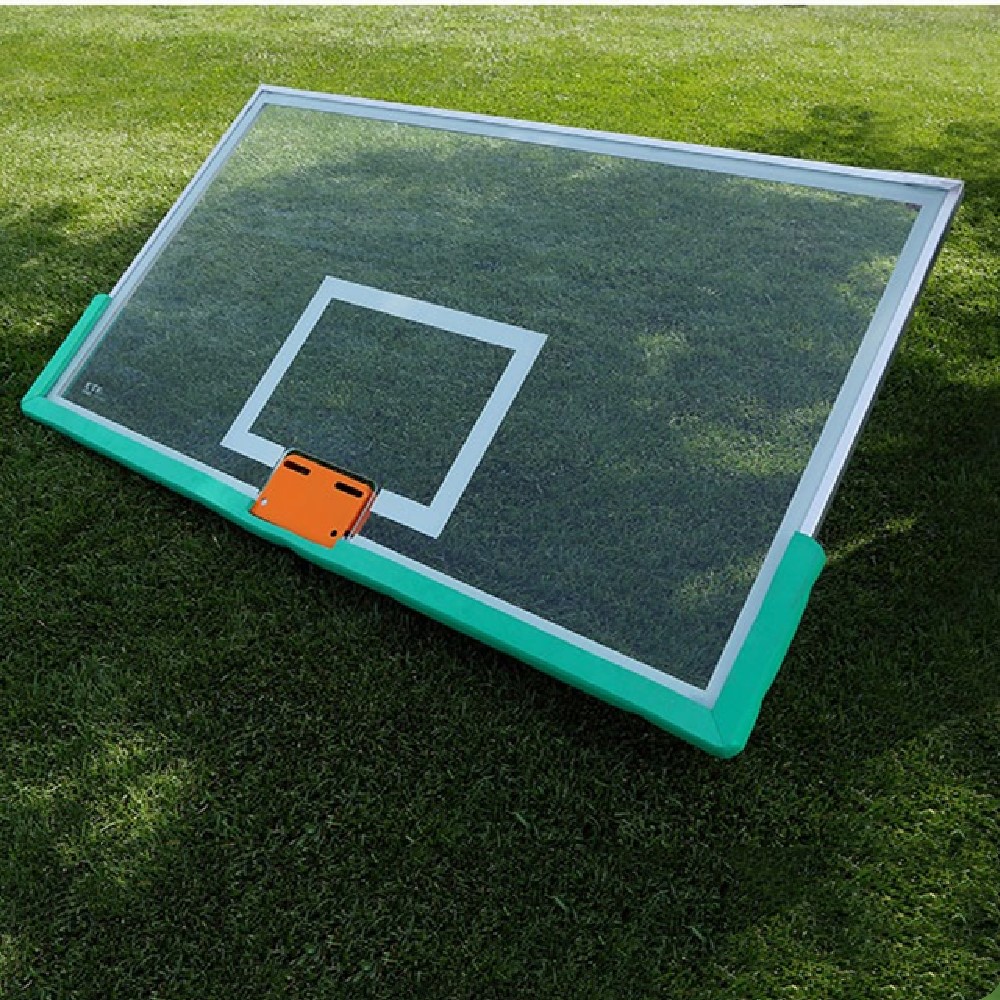
Install the backboard and the hoop
Fix point selection: Use 4 M12*60 screws to connect the backboard, posts and hoop.
Uniform force: The tempered glass backboard needs to ensure the balance of the fulcrum to avoid excessive local pressure and cracking.
Details: The connection points of the backboard are sealed with glue to prevent rainwater from penetrating and damaging the structure.
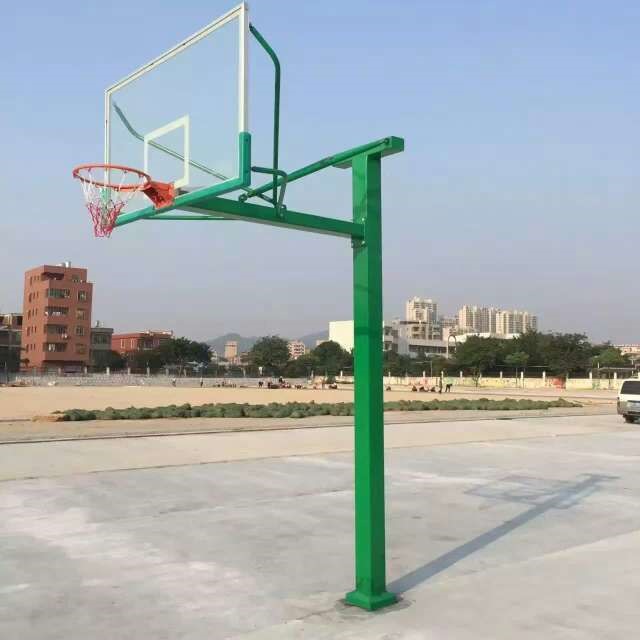
Debugging and acceptance
Horizontal calibration: Use a level to check the surrounding walls of the basketball stand to ensure that there is no tilt.
Height confirmation: The lower edge of the basket is 3.05 meters from the ground (standard height).
Function test: simulate shooting, shake the basket, and check stability.
Three, key points
Safety first
During installation, no unrelated personnel are allowed to enter the site to prevent concrete splashing or tools from falling and injuring people.
Wear a safety belt when working at high altitudes and use scaffolding to fix the columns.
Concrete quality
Mix sand, cement, and gravel in proportion (usually 1:2:3) to ensure that the strength meets the standard.
After filling, compact with a vibrator to avoid internal voids.
Backboard protection
The tempered glass backboard should be handled with care and avoid collision with hard objects during installation.
Regularly check whether the connecting screws are loose to prevent the backboard from falling off.
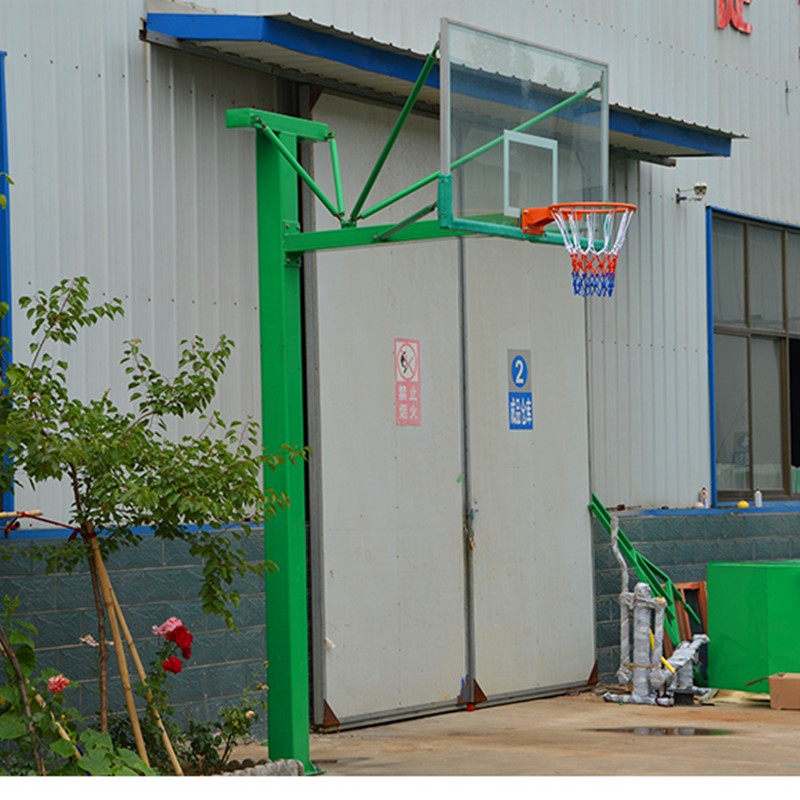
Special scene processing
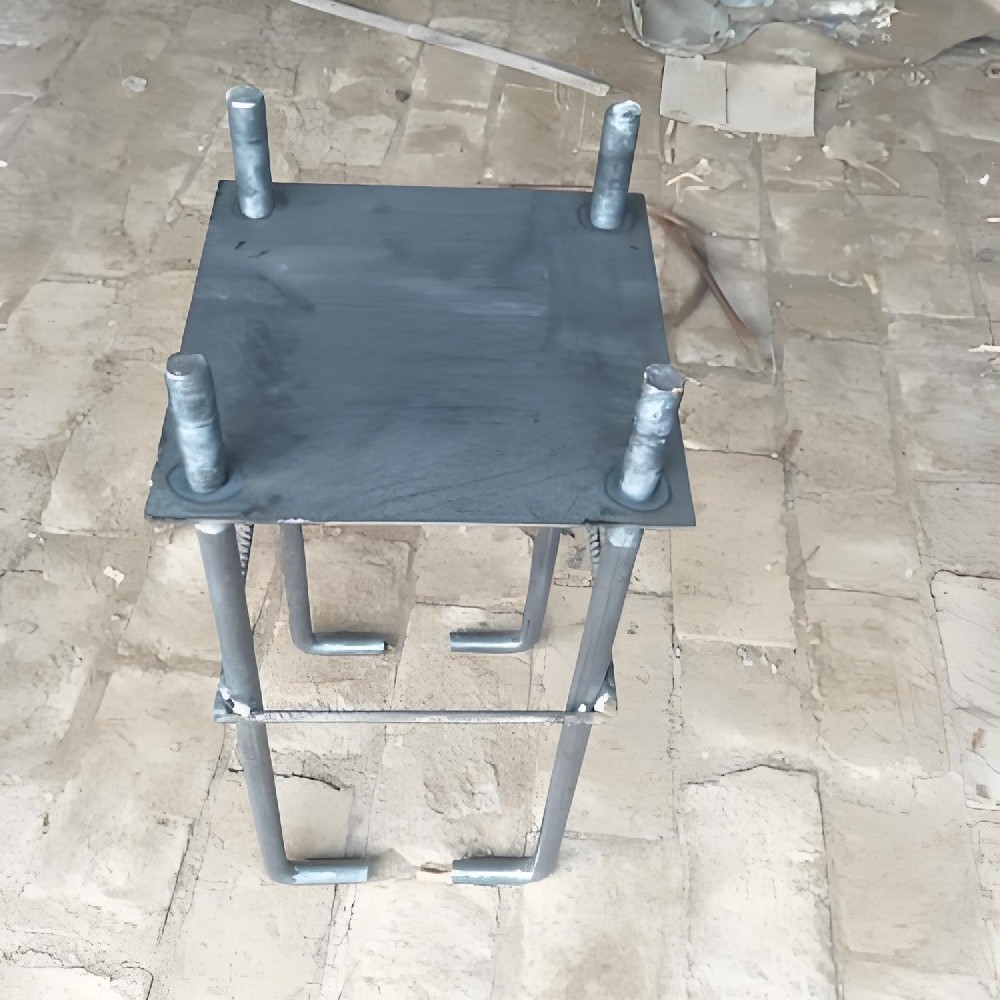
Rooftop installation: Use pre-buried bolts to bury the flange in the pit, fill it with concrete and connect the basketball stand base.
Soft soil foundation: Increase the pit depth to 1 meter, increase the amount of concrete, and improve stability.
IV. Common problem solving
Problem 1: Basketball stand tilts
Cause: Concrete is not compacted and the column is not fixed stably.
Solution: Re-dig the pit, refill the concrete and compact it, and calibrate it with a level.
Problem 2: Backboard cracks
Cause: Uneven force during installation and loose screws.
Solution: Replace the backboard, ensure five-point force balance when re-fixing, and check the screws regularly.
Problem 3: Basket height does not match
Cause: Wrong column installation depth.
Solution: Re-adjust the buried depth of the column to ensure that the bottom edge of the basket is 3.05 meters from the ground.